
How To Formulate Leed Compliant Reflective Roof Coatings?
Share on facebook Share on linkedin Share on whatsapp Share on telegram Share on email Reflective roof coatings are known for their viable role in the LEED rating process. Numerous


Share on facebook Share on linkedin Share on whatsapp Share on telegram Share on email Reflective roof coatings are known for their viable role in the LEED rating process. Numerous
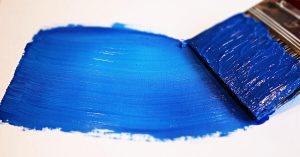
Gloss is an important aspect to consider for your products due to the possible psychological effect of different gloss levels. How do you determine the appropriate gloss measurement angle for desired gloss on your gloss meter?
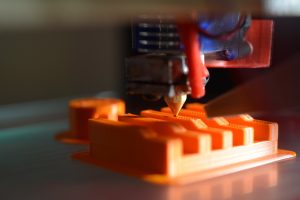
What is 3D printing work? How is it different from other manufacturing techniques? The answers to these questions might surprise you. There at several different types, there isn’t just one form of 3D printing. They all build parts by depositing material one layer at a time, but there are important differences in terms of 3D printing technologies, the materials supported, the part sizes that can be produced, and the accuracy, resolution and precision that the 3D printers can achieve.